Verify with DNS Record (CNAME)
This tutorial follows the steps needed to verify a domain name through creation of a CNAME record.
From your Workspace Settings, click the Verified Domains link.
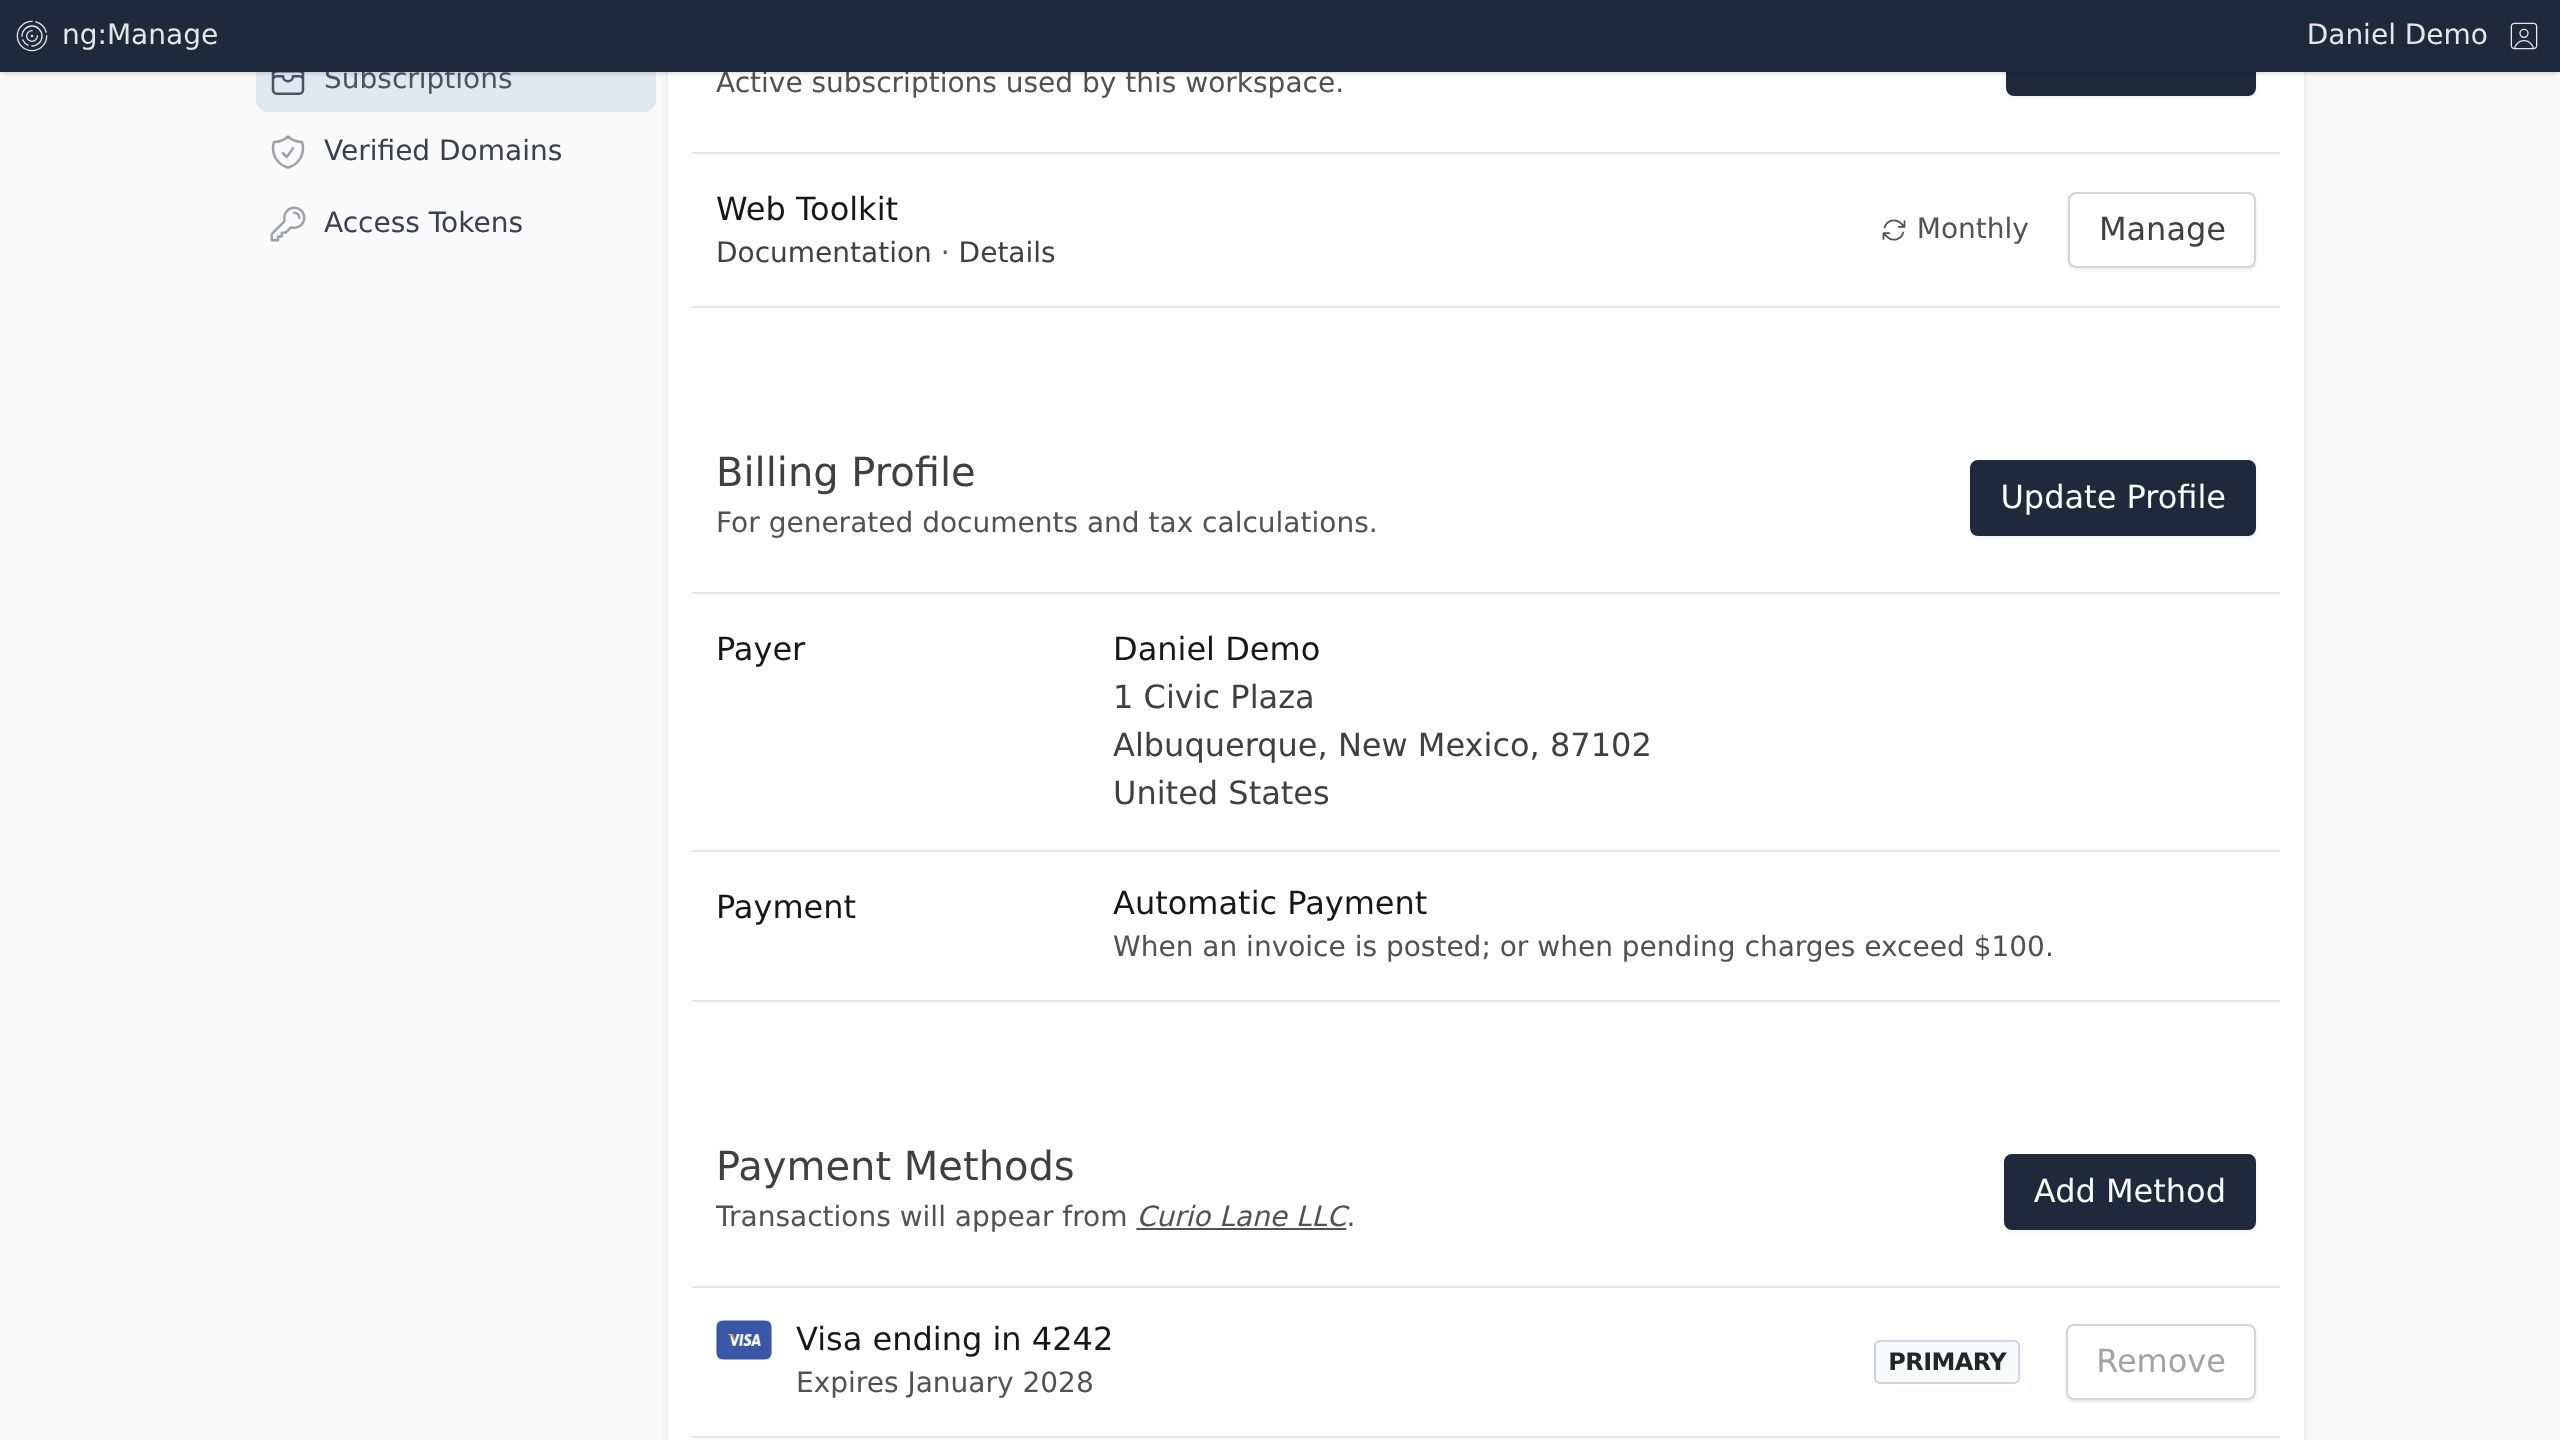
Screenshot with the Verified Domains link
Click the Add Domain button.
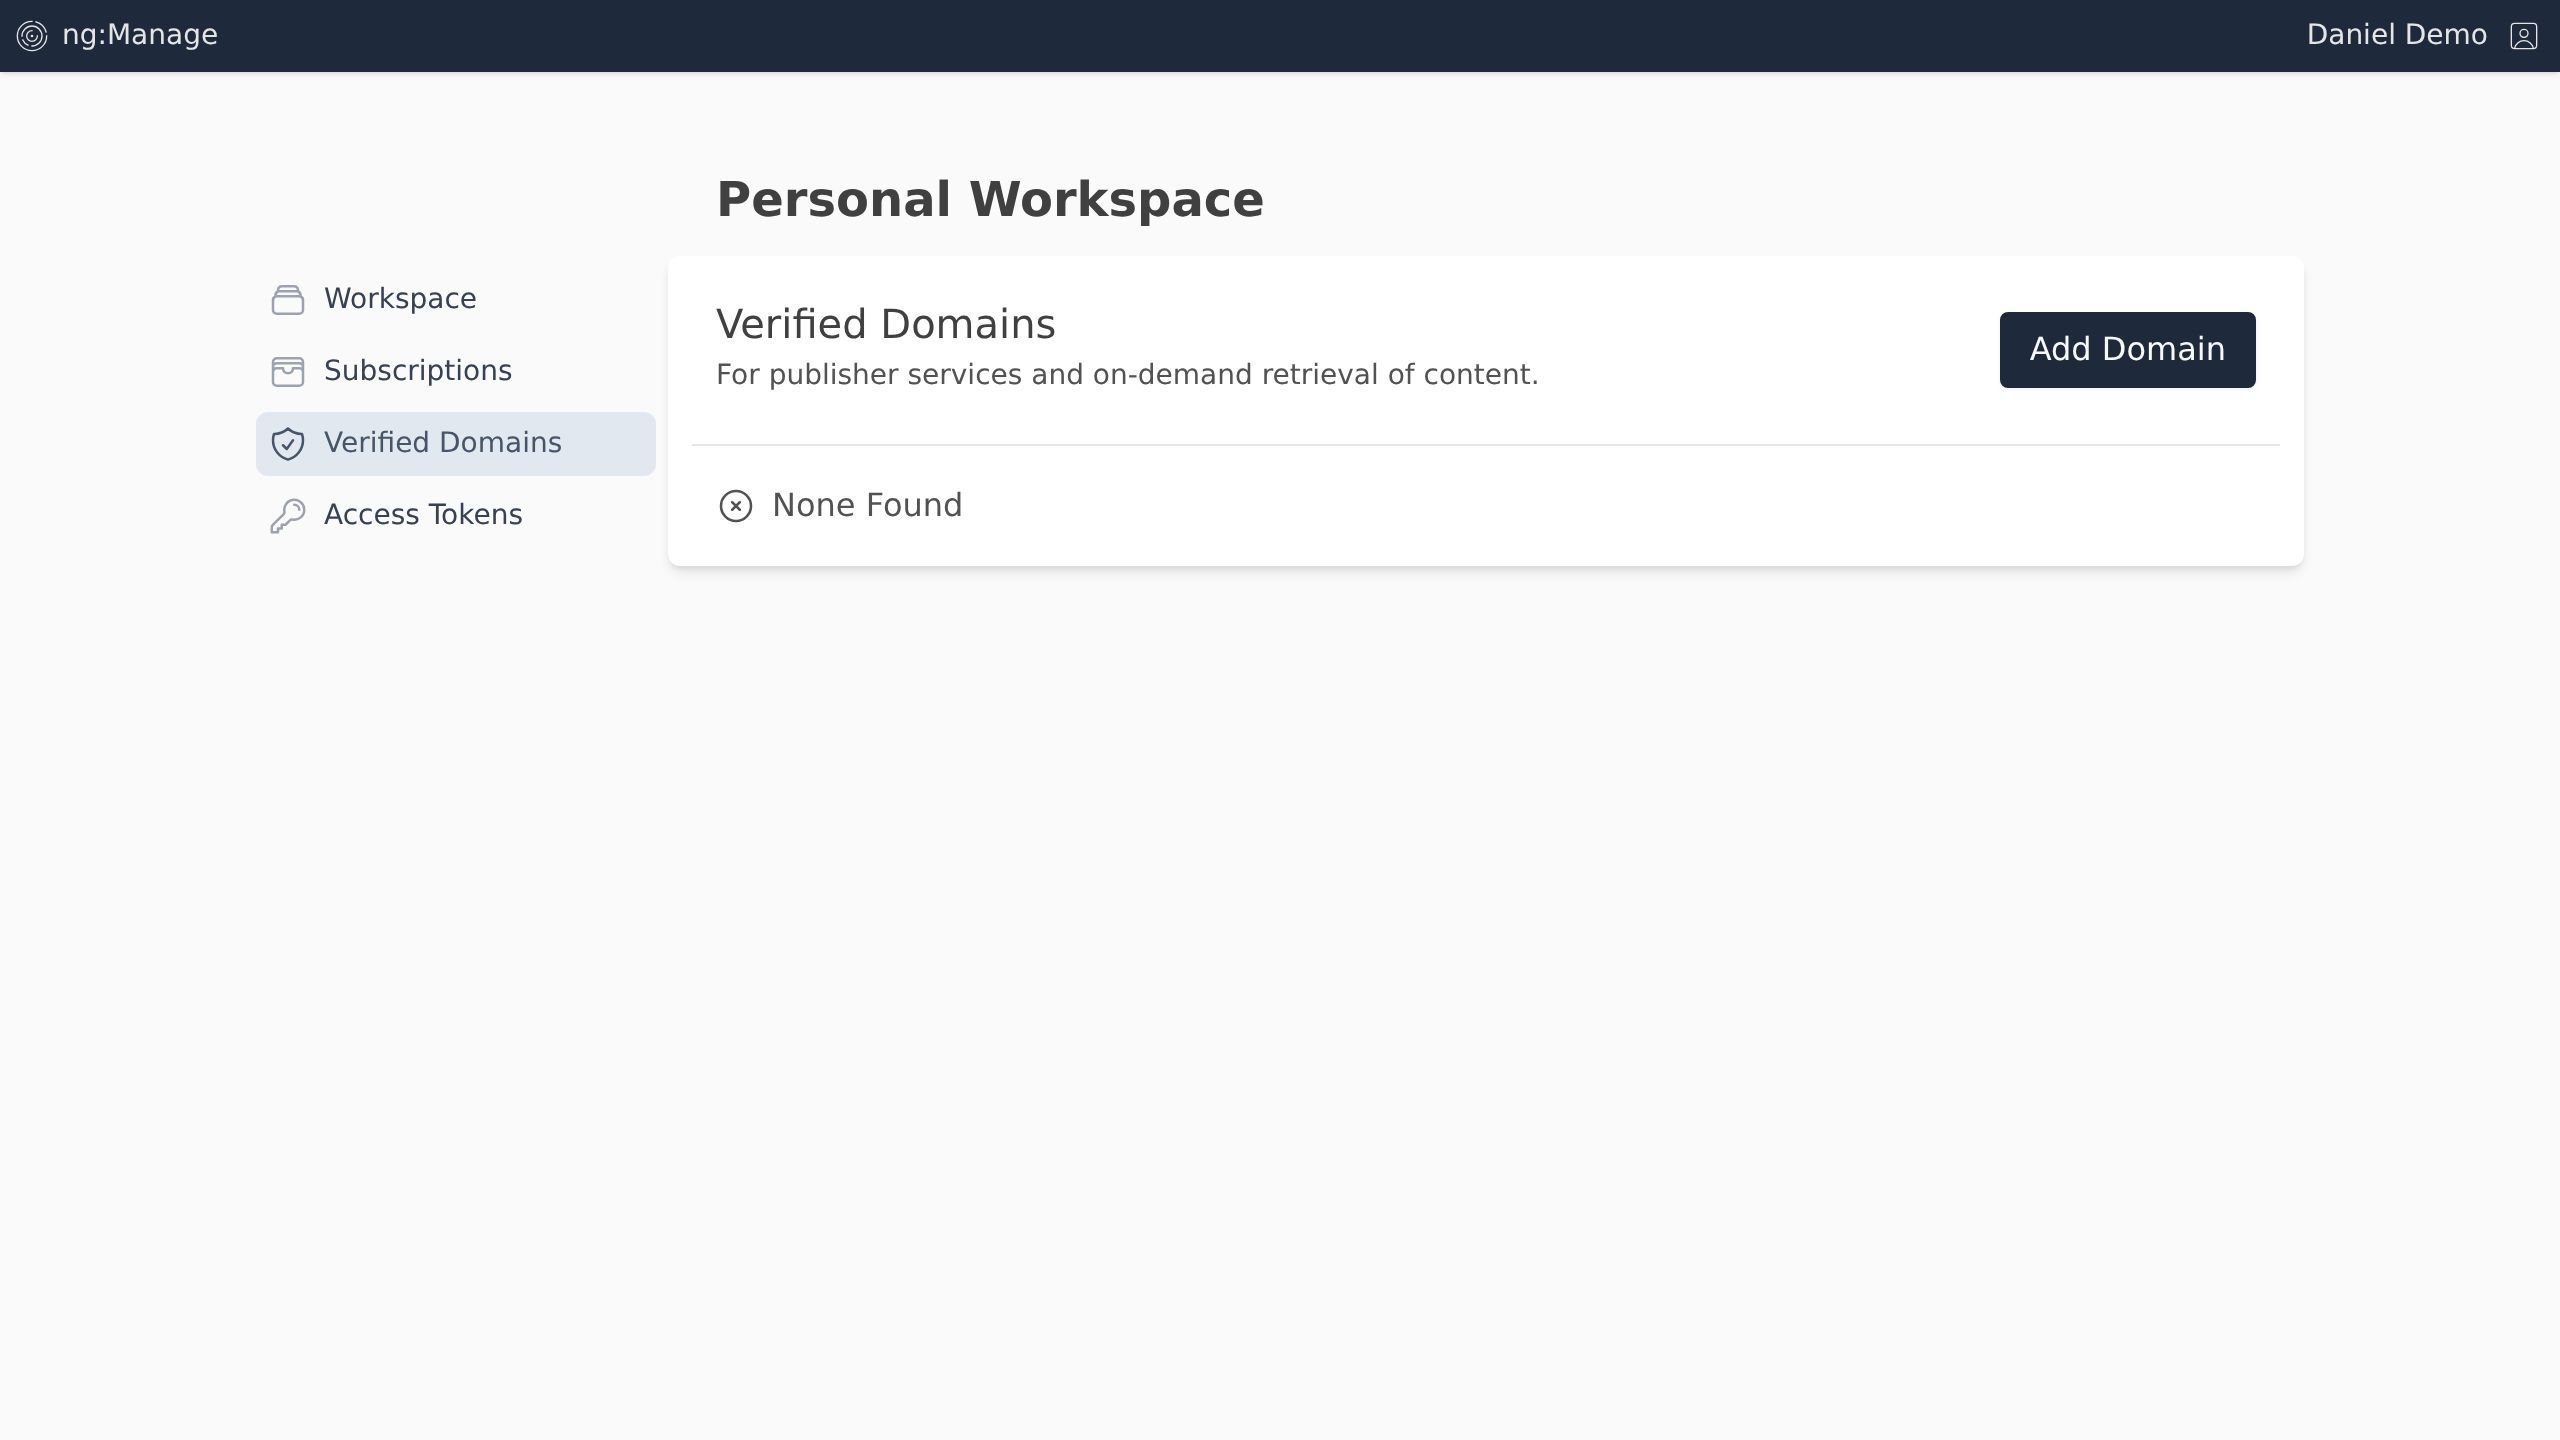
Screenshot with the Add Domain button
Fill in the Domain field, and the Verification Method field. Click the Continue button.
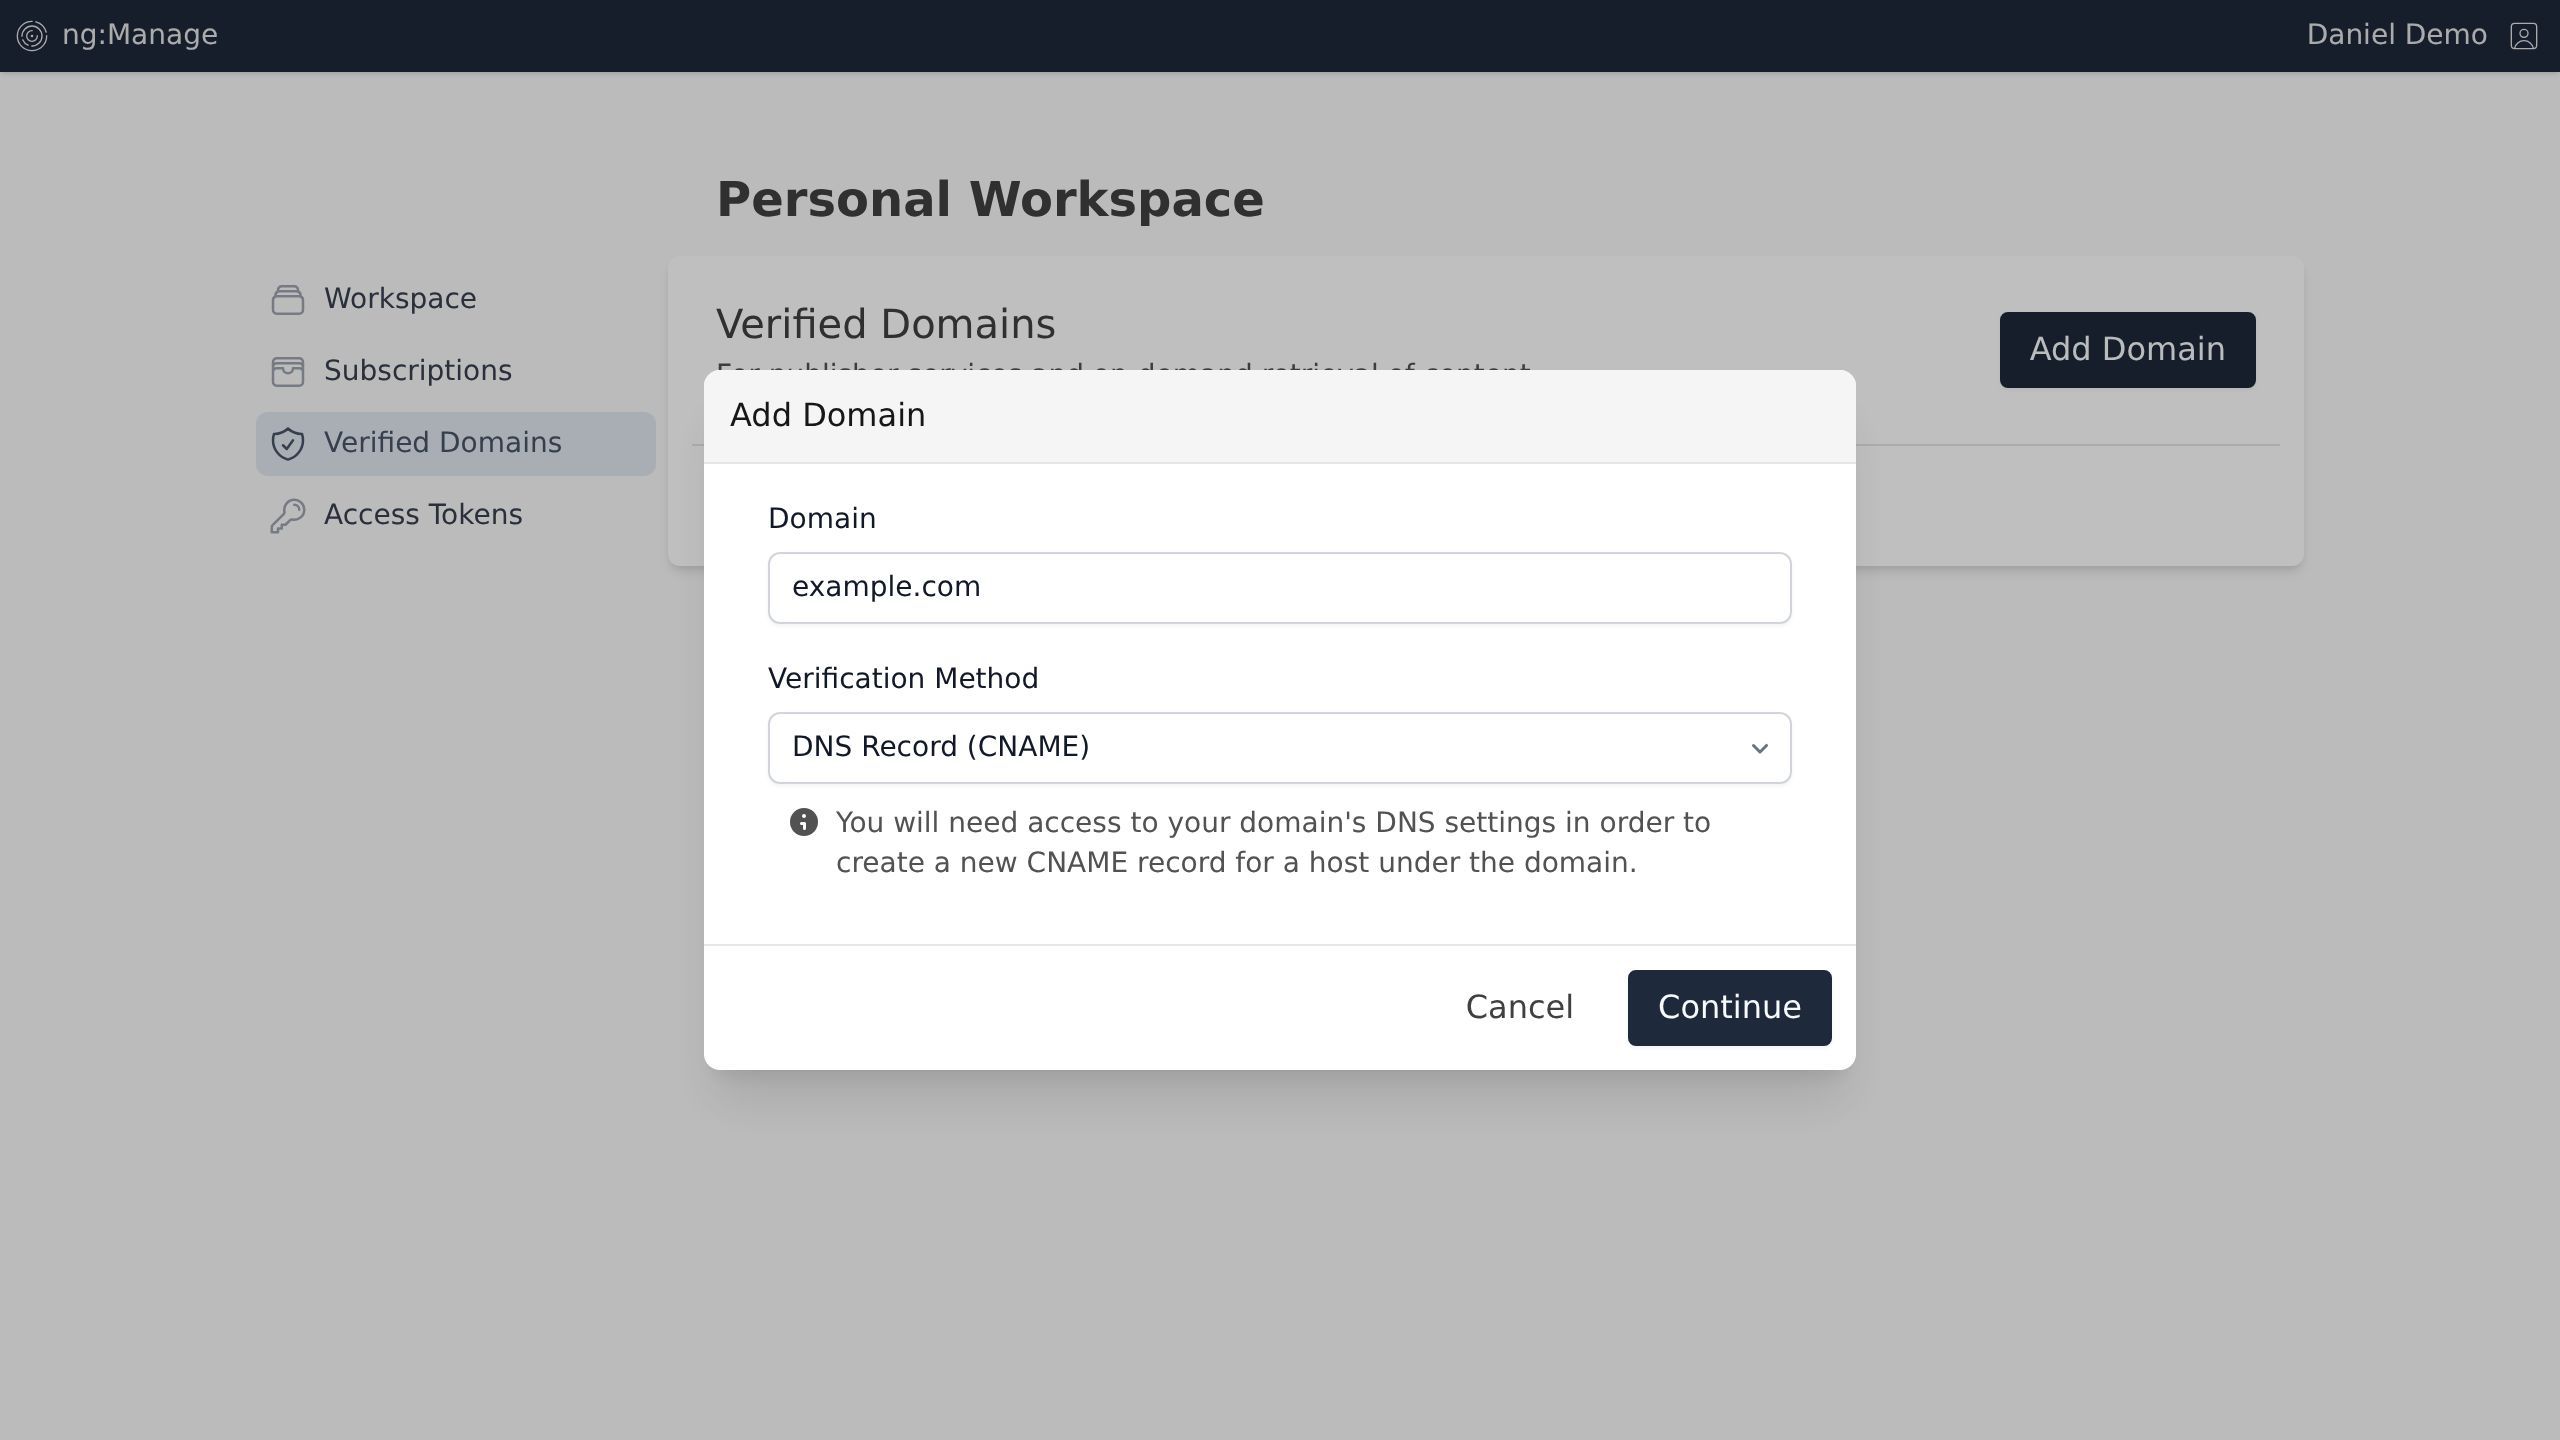
Screenshot with the Continue button
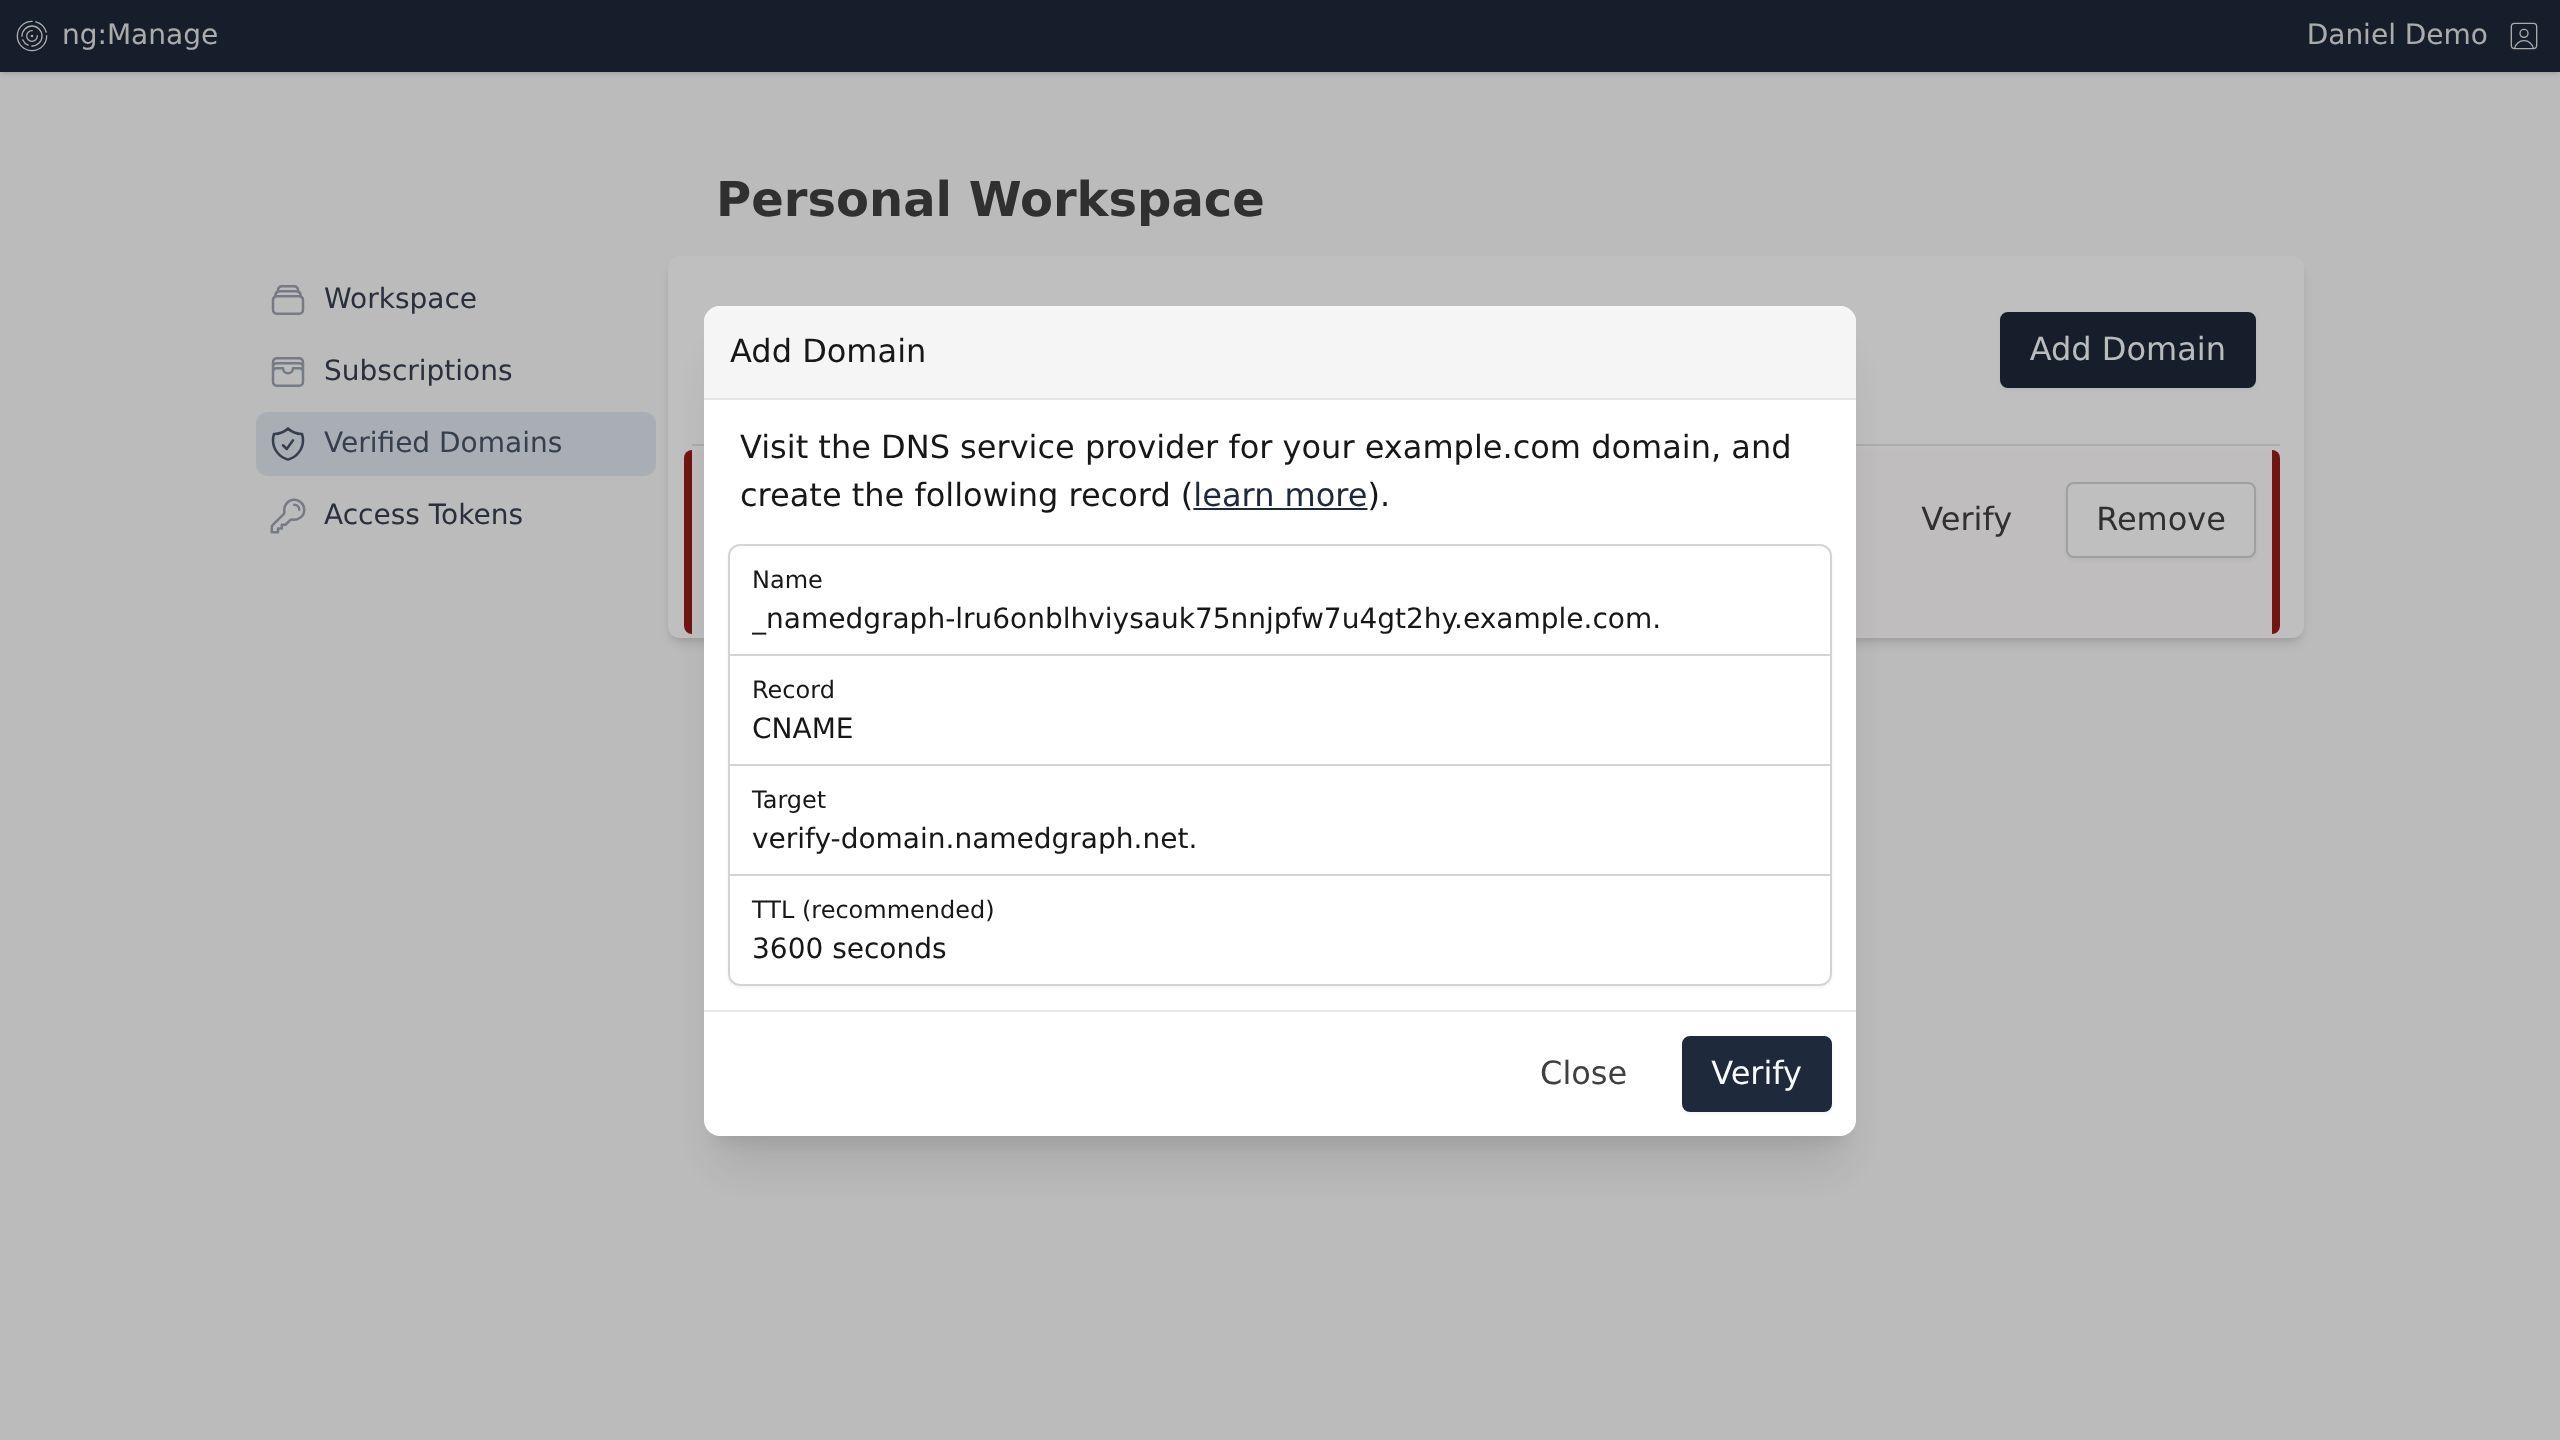
The next screen provides the assigned properties for your domain's verification.

Screenshot of the Verified Domains | Named Graph page.
Visit your domain's DNS settings to create a new CNAME record based on your assigned properties. Terms and steps vary slightly depending on the DNS provider, but you will typically find a form similar to the following.
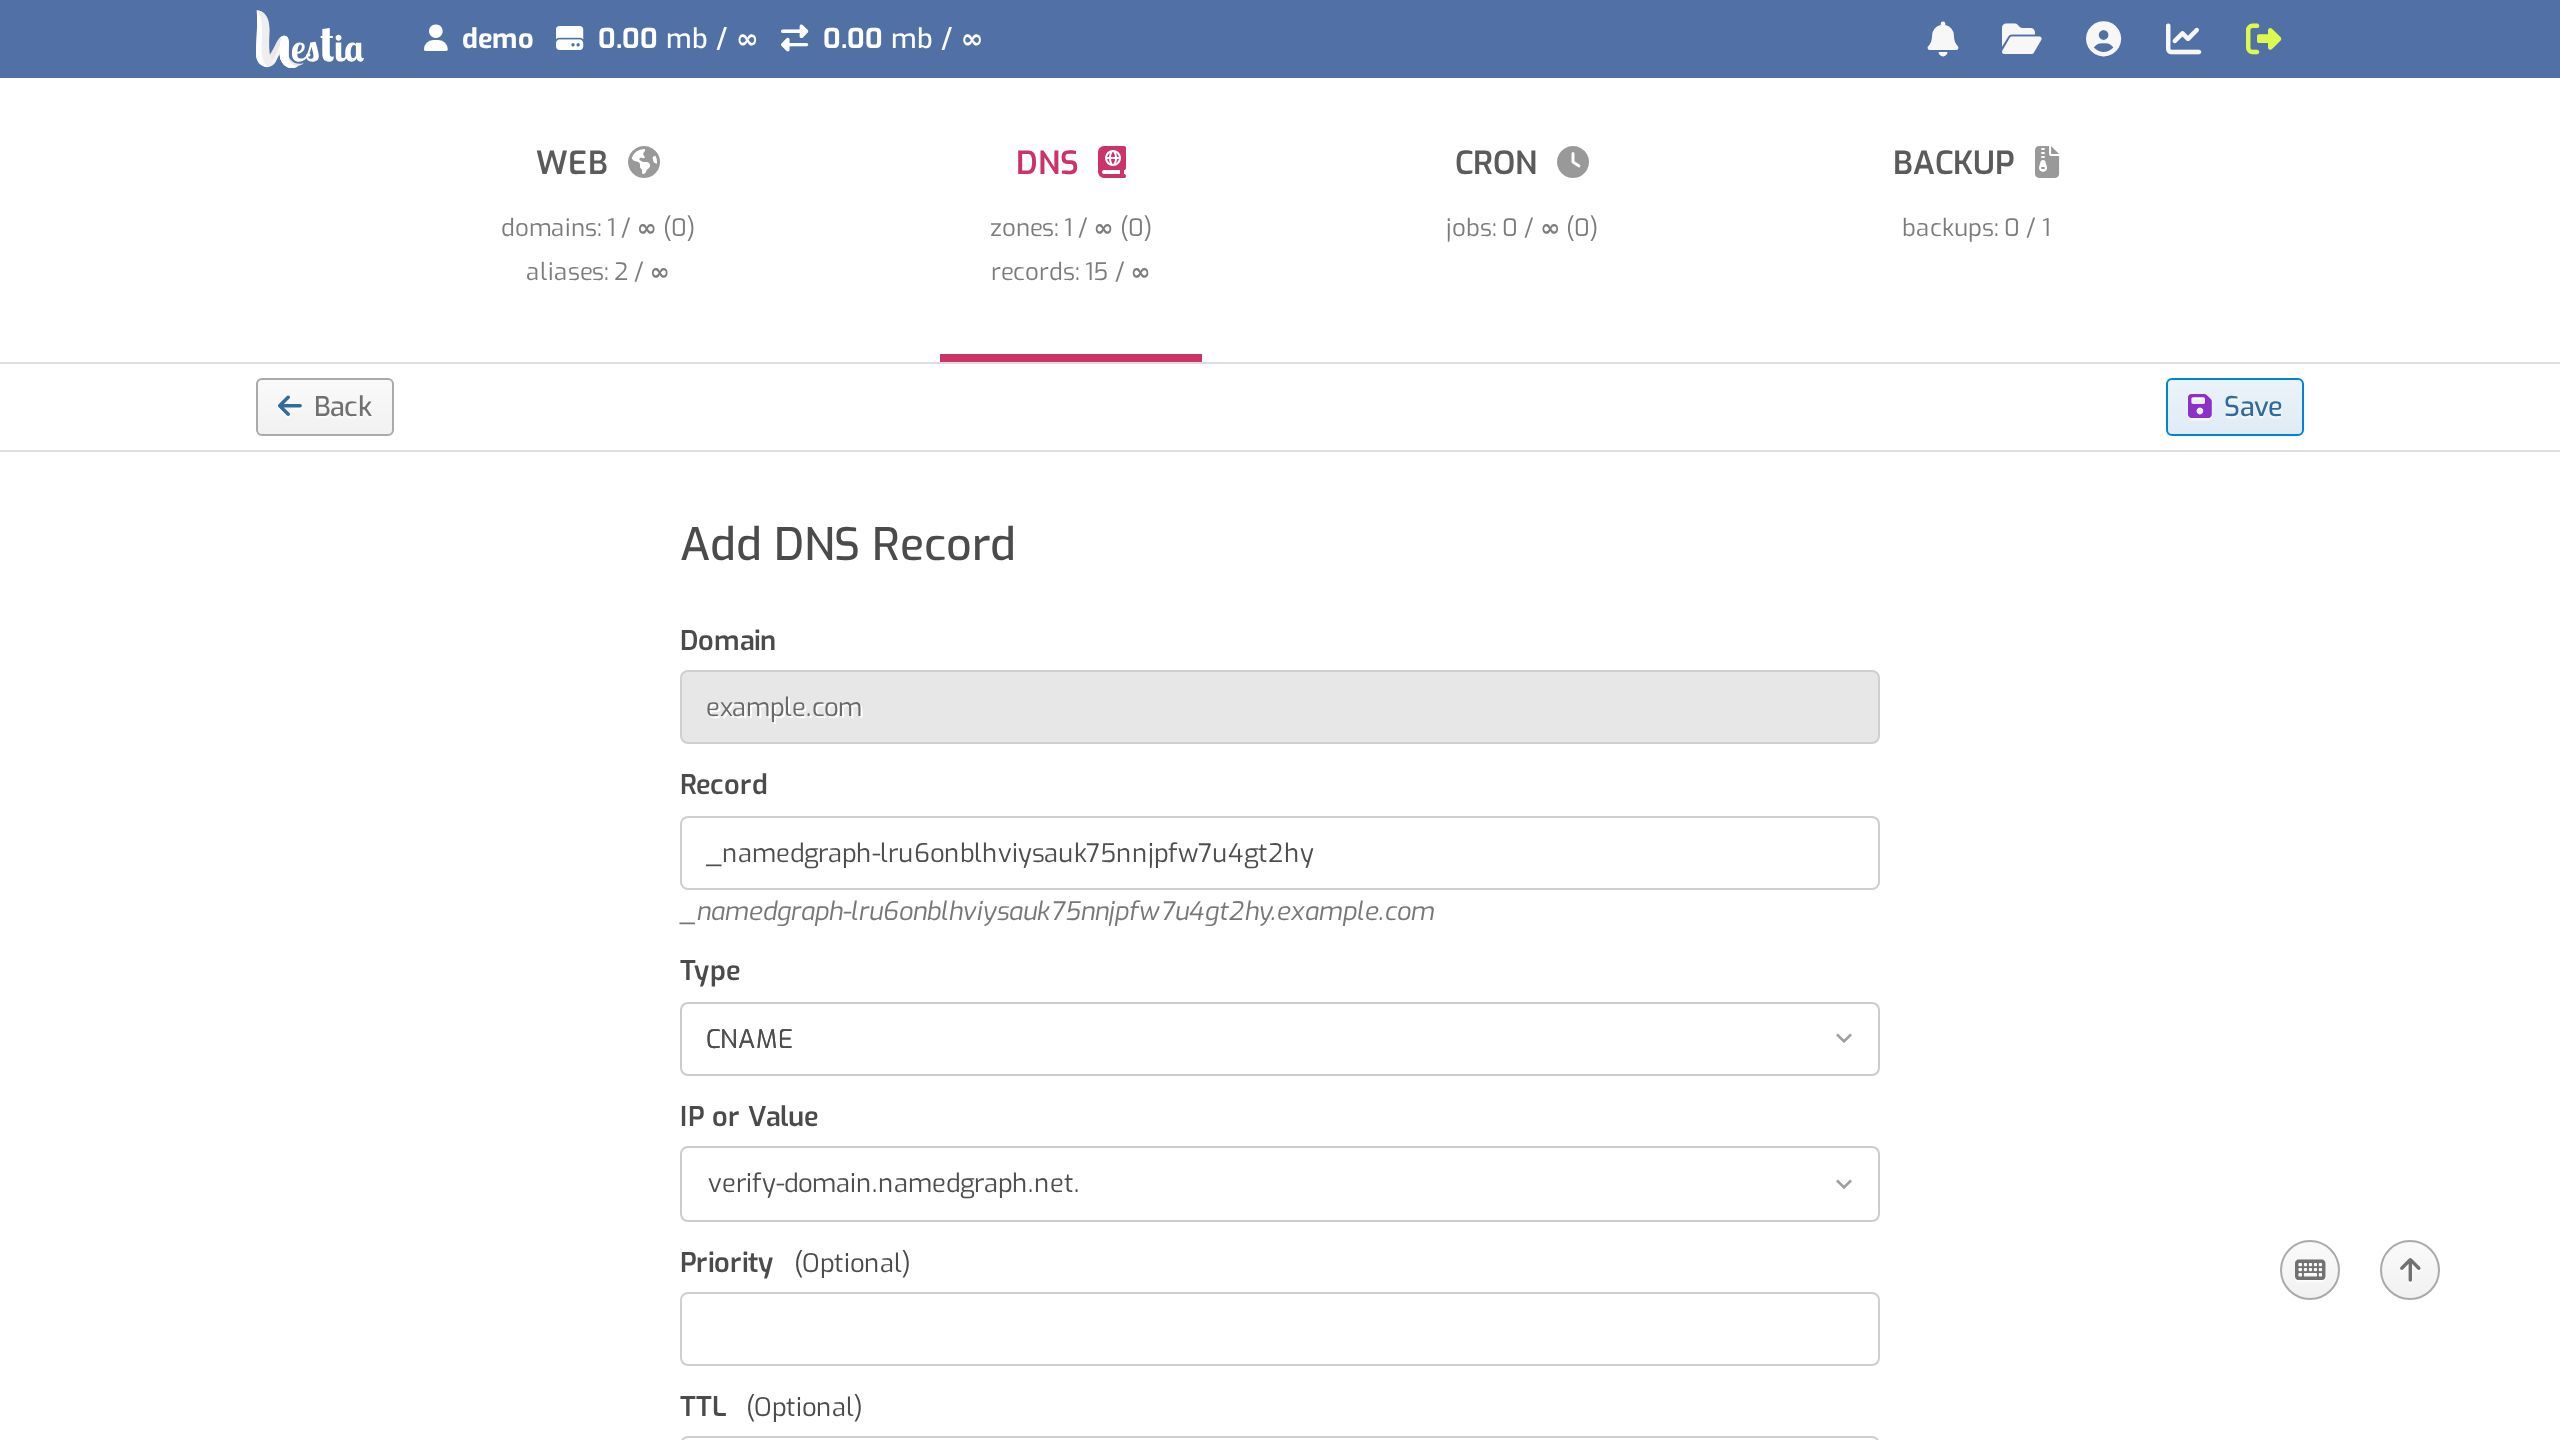
Screenshot of the DNS – Example Control Panel page.
Once the DNS record as been added, it may take some time to propagate (ranging from seconds to days). We will automatically monitor the verification, but you may also try a manual verification, and click the Verify button.
Screenshot with the Verify button
Even after a successful verification, be sure to retain the DNS record to maintain your domain's verified status.
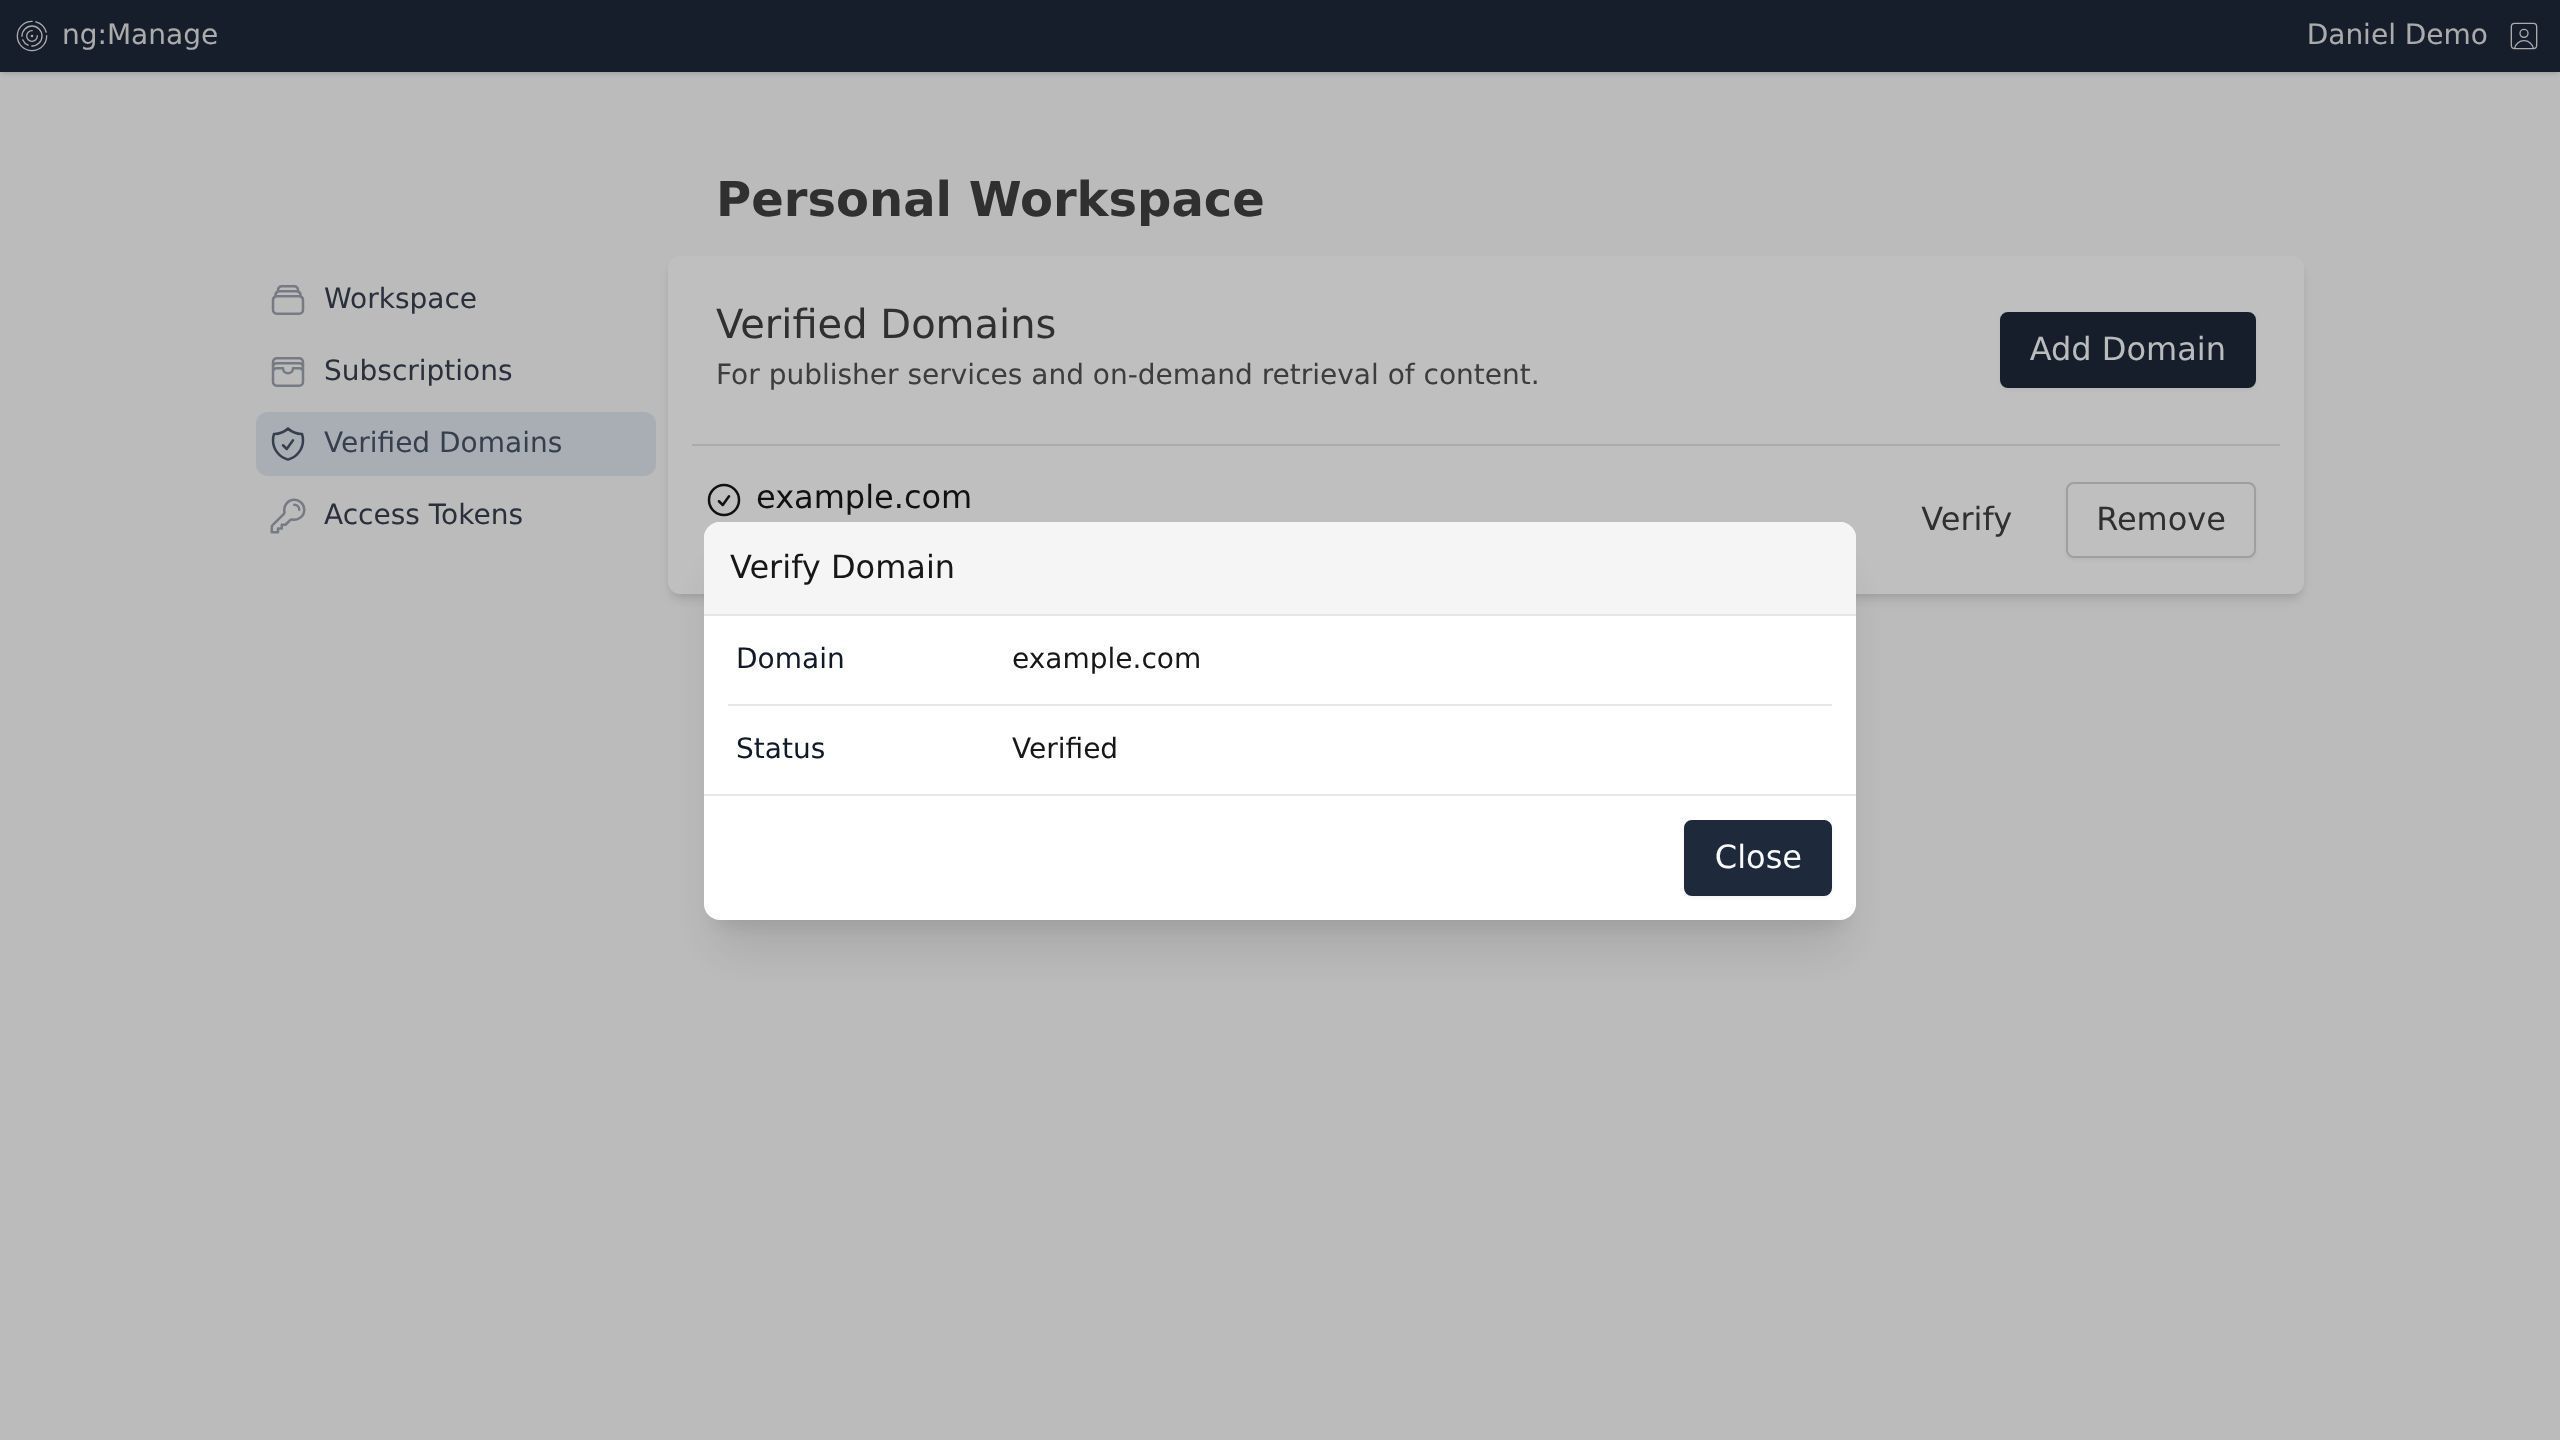
Screenshot of the Verified Domains | Named Graph page.
You can always return to your Verified Domains list to review or configure additional domains.

Screenshot of the Verified Domains | Named Graph page.